
I remember the moment when I finally nailed my perfect Chocolate Puff Pastry. It wasn’t on the first try—nope, it took a couple of attempts, plenty of spills, and a few laughable flops. But when I pulled that golden, flaky chocolate pastry from the oven, warm and filled with melty goodness, I knew I had found a winner. This recipe quickly became a staple in my baking life, a comforting, delightful treat that feels like a little celebration every time I make it.
Chocolate Puff Pastry is special because it’s simple yet impressive. It brings together buttery, flaky layers with rich chocolate in each bite—something that’s just so satisfying. I bake it when I want to treat myself or surprise friends with something that looks fancy but really isn’t complicated at all. Plus, the smell as it bakes? Absolutely heavenly.
What I love most about this Chocolate Puff Pastry is that it fits right into both weeknight cravings and festive moments. It’s not reserved for big events—it’s the kind of dessert you might whip up after dinner when you want something sweet but don’t want to spend hours in the kitchen. It’s approachable, affordable, and always welcoming at the table.
If you’re a friend who loves to bake or someone who’s just starting out, I encourage you to try this Chocolate Puff Pastry. It’s a crowd-pleaser that has brought smiles in my home and will do the same in yours. And if you enjoy this, you might love the Chocolate Filled Nutella Crescent Rolls I shared recently—another wonderfully simple chocolate pastry treat that’s just as satisfying. Join me in the kitchen, and let’s make something delicious!
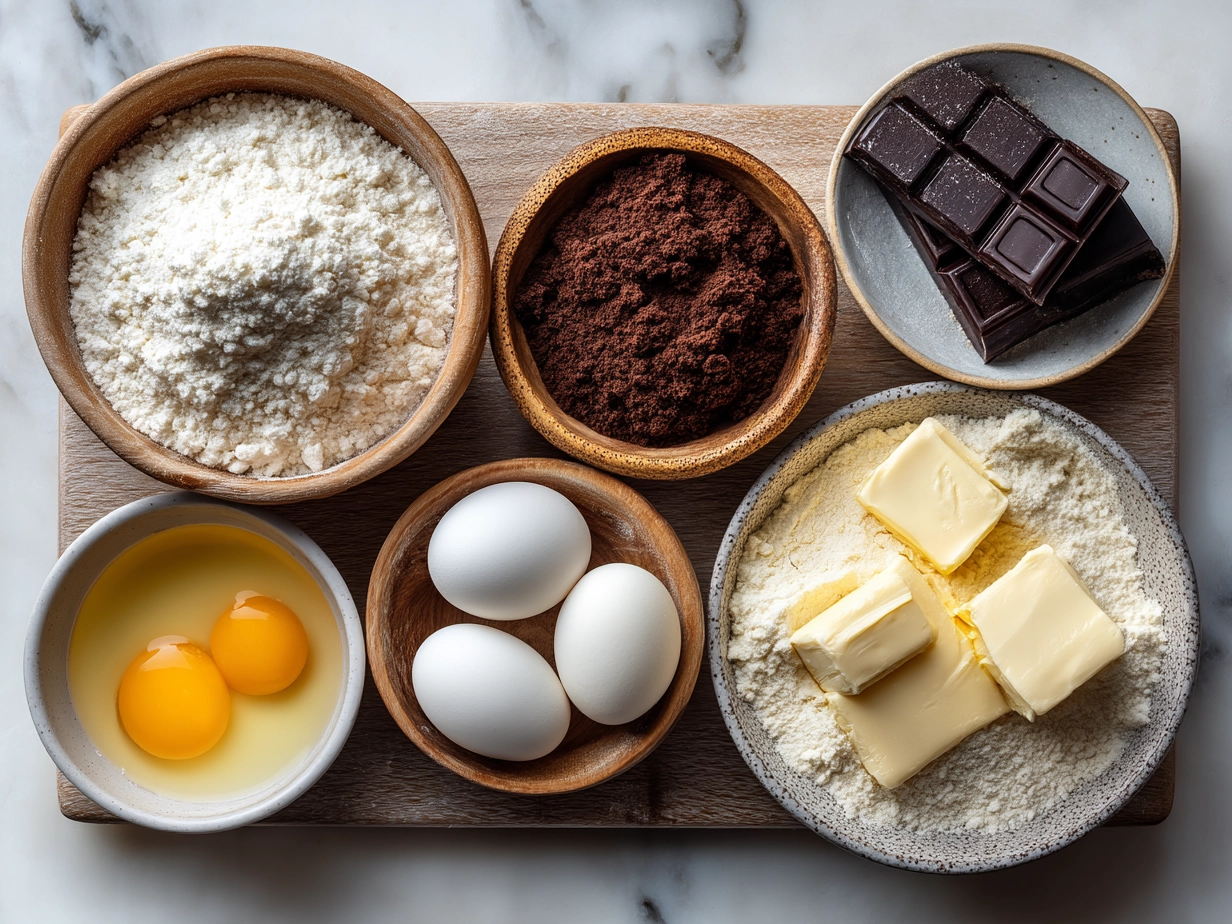
What You’ll Need for This Chocolate Puff Pastry:
Here’s the trusty ingredient list for this Chocolate Puff Pastry. I keep it simple because great baking should be easy to start and affordable to enjoy.
- 1 sheet of puff pastry (about 8×8 inches) – You can find this frozen in most grocery stores, usually near the refrigerated dough. I always grab a couple sheets so I’m ready for extra batches.
- 4 ounces of semi-sweet chocolate (chopped or chips) – You can swap this for milk chocolate or dark chocolate based on your taste. I prefer semi-sweet because it balances the buttery pastry.
- 1 egg (for egg wash) – Gives that beautiful golden shine.
- 1 tablespoon water (mixed with egg for wash)
If you don’t have puff pastry on hand, you could try a simple shortcut like phyllo dough, but the flaky layers won’t be quite the same. This Chocolate Puff Pastry stays budget-friendly because puff pastry sheets are usually reasonably priced, and you get multiple treats from just one sheet.
Before you start, let your puff pastry thaw just enough to be workable but still cool to keep those flaky layers baking perfectly. I like to add a sprinkle of flaky sea salt on top sometimes—it’s my little trick that makes this Chocolate Puff Pastry extra wonderful.
How to Make This Chocolate Puff Pastry:
Let’s get into it! From start to finish, this Chocolate Puff Pastry takes about 30 minutes, so it’s pretty quick and rewarding. Here’s how we’ll do it:
- Preheat your oven to 400°F (200°C). This is just the right heat to puff up that pastry layers and crisp the base nicely.
- Prepare your puff pastry sheet. Lightly flour your workspace and roll out the sheet just a bit, making sure it’s even. You want it to be smooth but not too thin.
- Cut the puff pastry into squares. I usually get four squares from an 8×8 sheet, so each piece is a good size to hold chocolate without overwhelming.
- Place chopped chocolate in the center of each square. Don’t overfill—just enough to get a melty core.
- Fold the pastry over the chocolate to form triangles or rectangles and press the edges firmly with a fork to seal. This step is where a gentle hand makes all the difference with your Chocolate Puff Pastry—too much pressure squashes the layers, too little and you risk leaks.
- Mix your egg wash (egg and water) and brush it lightly over the pastries. This gives a gleaming finish.
- Bake for 15-20 minutes or until golden and puffed. Your kitchen will smell heavenly when this Chocolate Puff Pastry is ready.
While these are baking, you can tidy up or enjoy a cup of tea. If your Chocolate Puff Pastry looks puffy with a slight crackle on top, you’re on track to a perfect flaky chocolate pastry dessert.
As a time-saving shortcut, you can use pre-chopped chocolate chips instead of chopping a bar, and I find this really speeds up assembly without losing flavor.
Over the years, I’ve learned not to rush the oven preheat—it really makes a difference. Once I started trusting that timing, my Chocolate Puff Pastry came out with perfect puff and crunch every time. For another fun baking experiment, you might like these Mini Chocolate Puff Pastry Rolls, which add a twist to the classic.
Serving Your Chocolate Puff Pastry:
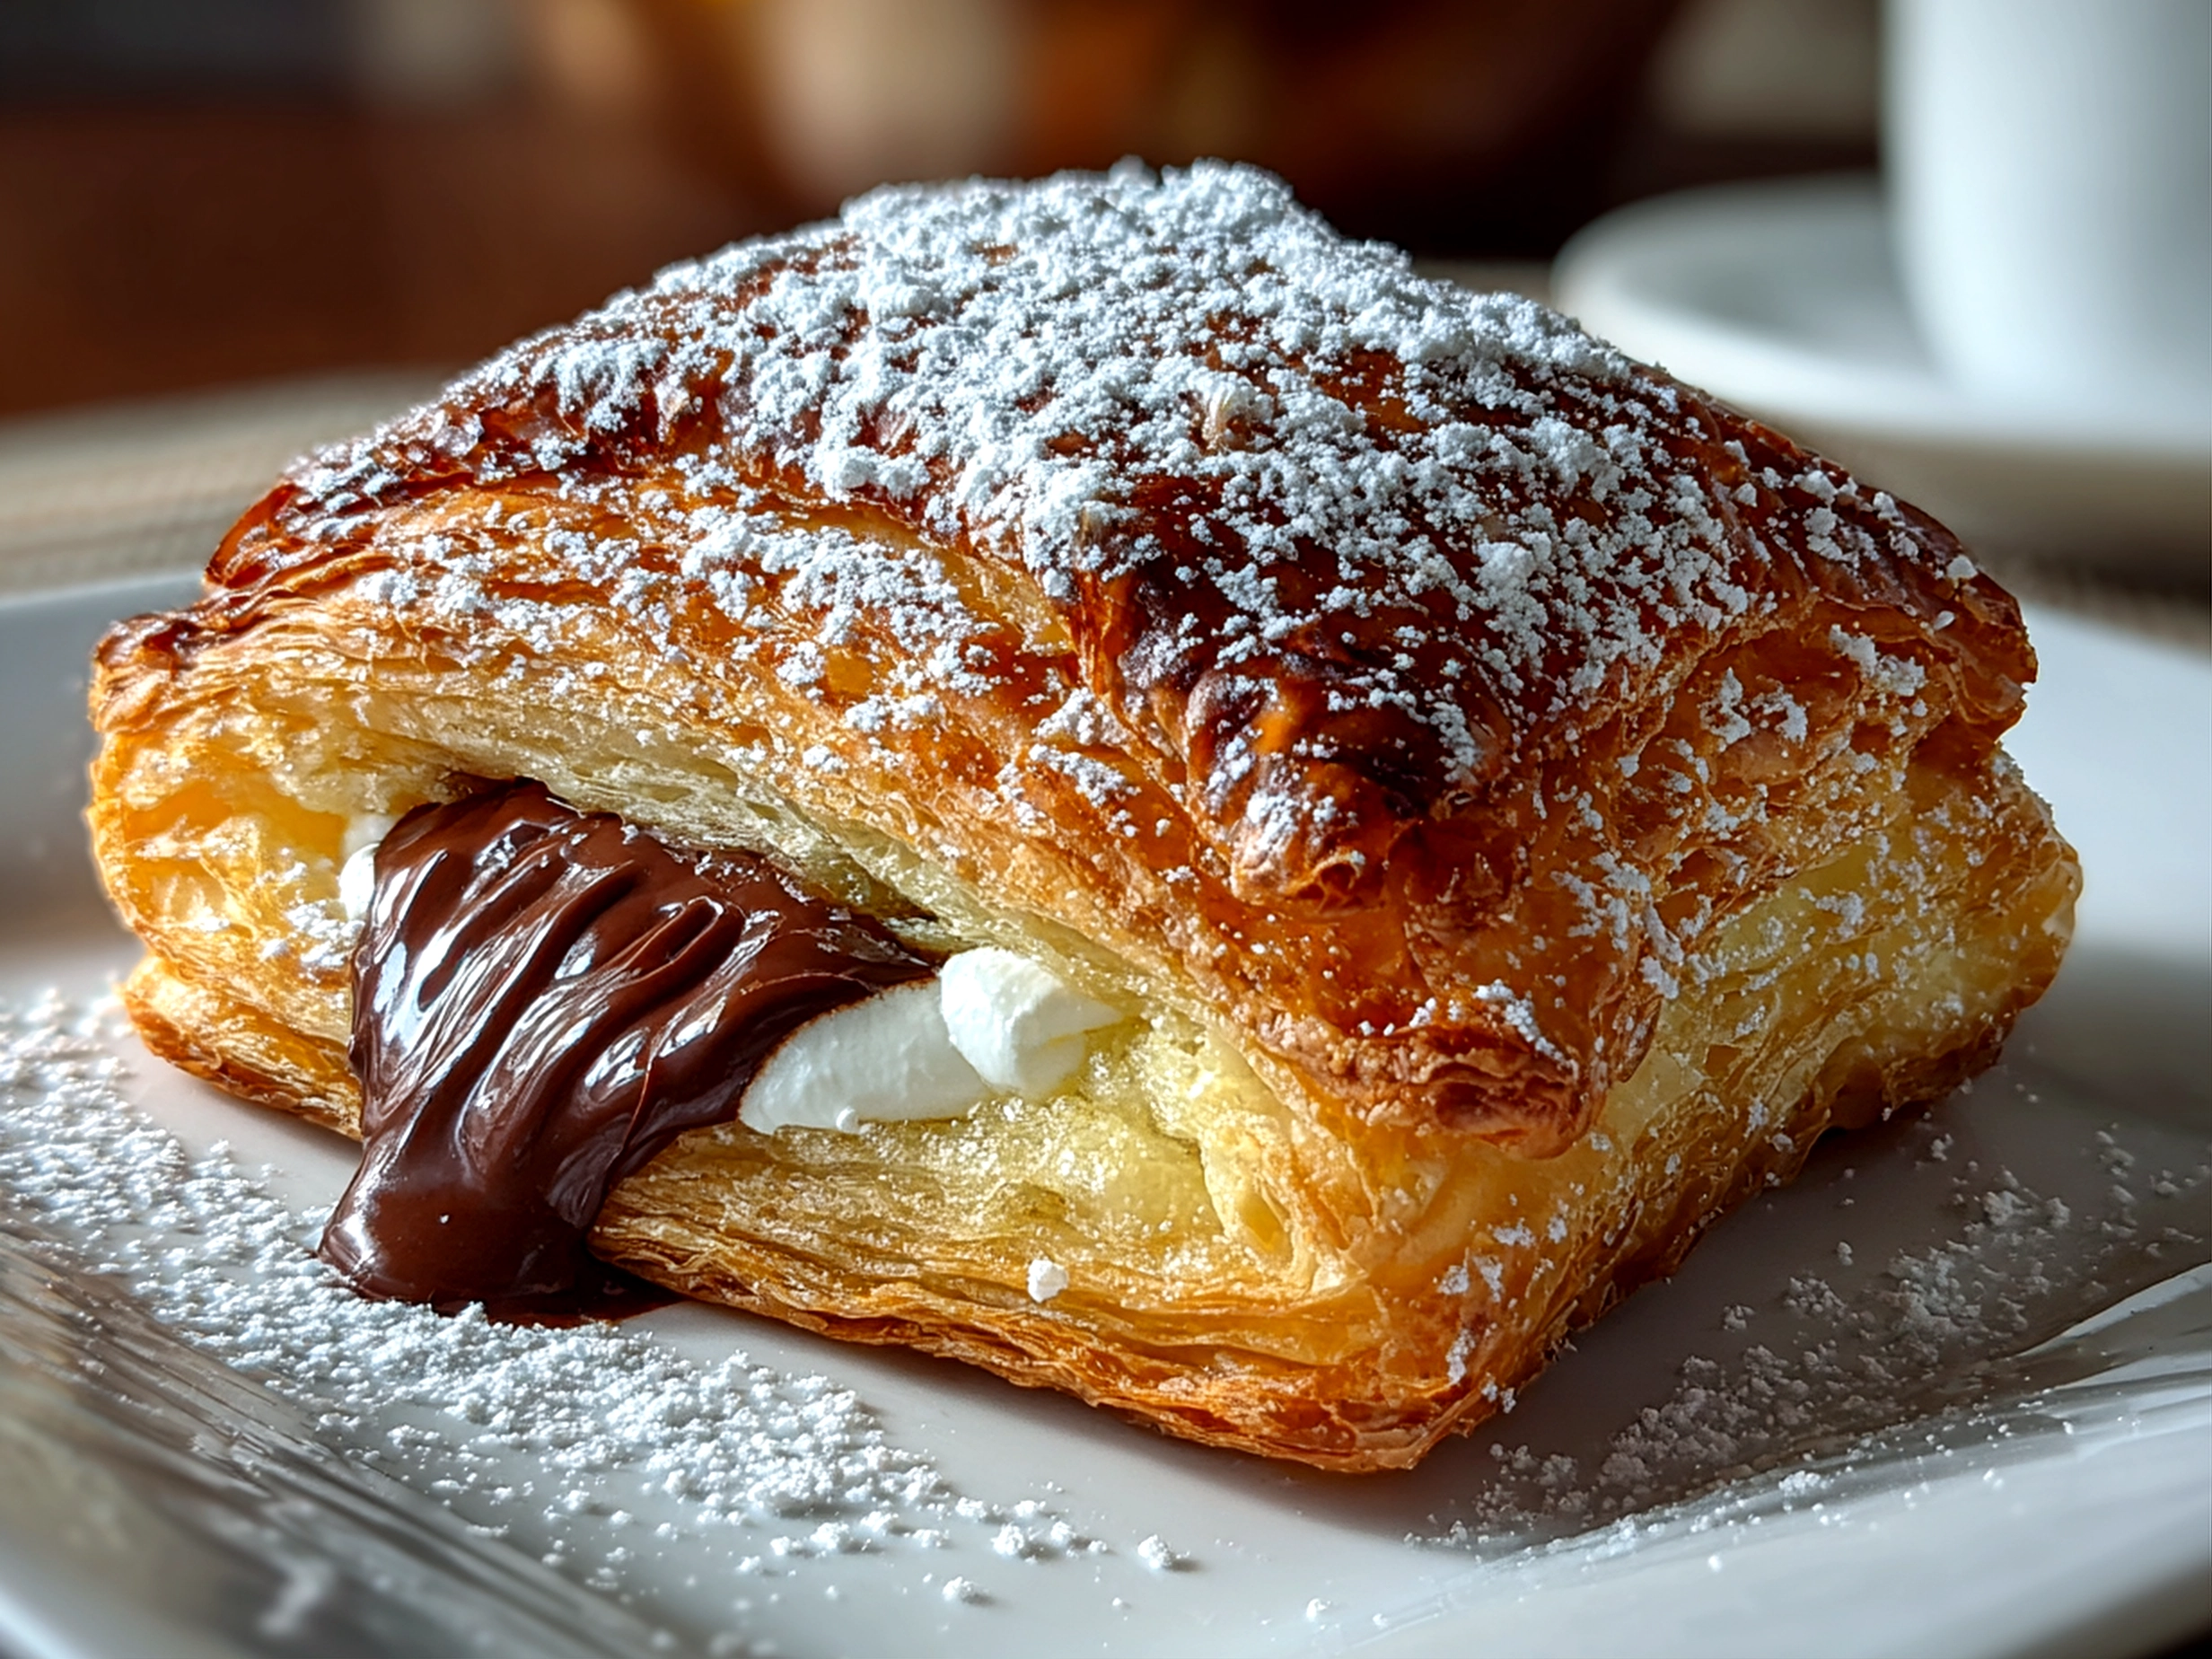
This Chocolate Puff Pastry is a joy to serve because it feels like a little luxury you made yourself. I often like to enjoy it simply on its own, maybe with a dusting of powdered sugar, or served warm alongside a scoop of vanilla ice cream. The contrast between the flaky chocolate pastry and creamy ice cream is a crowd-pleaser every time.
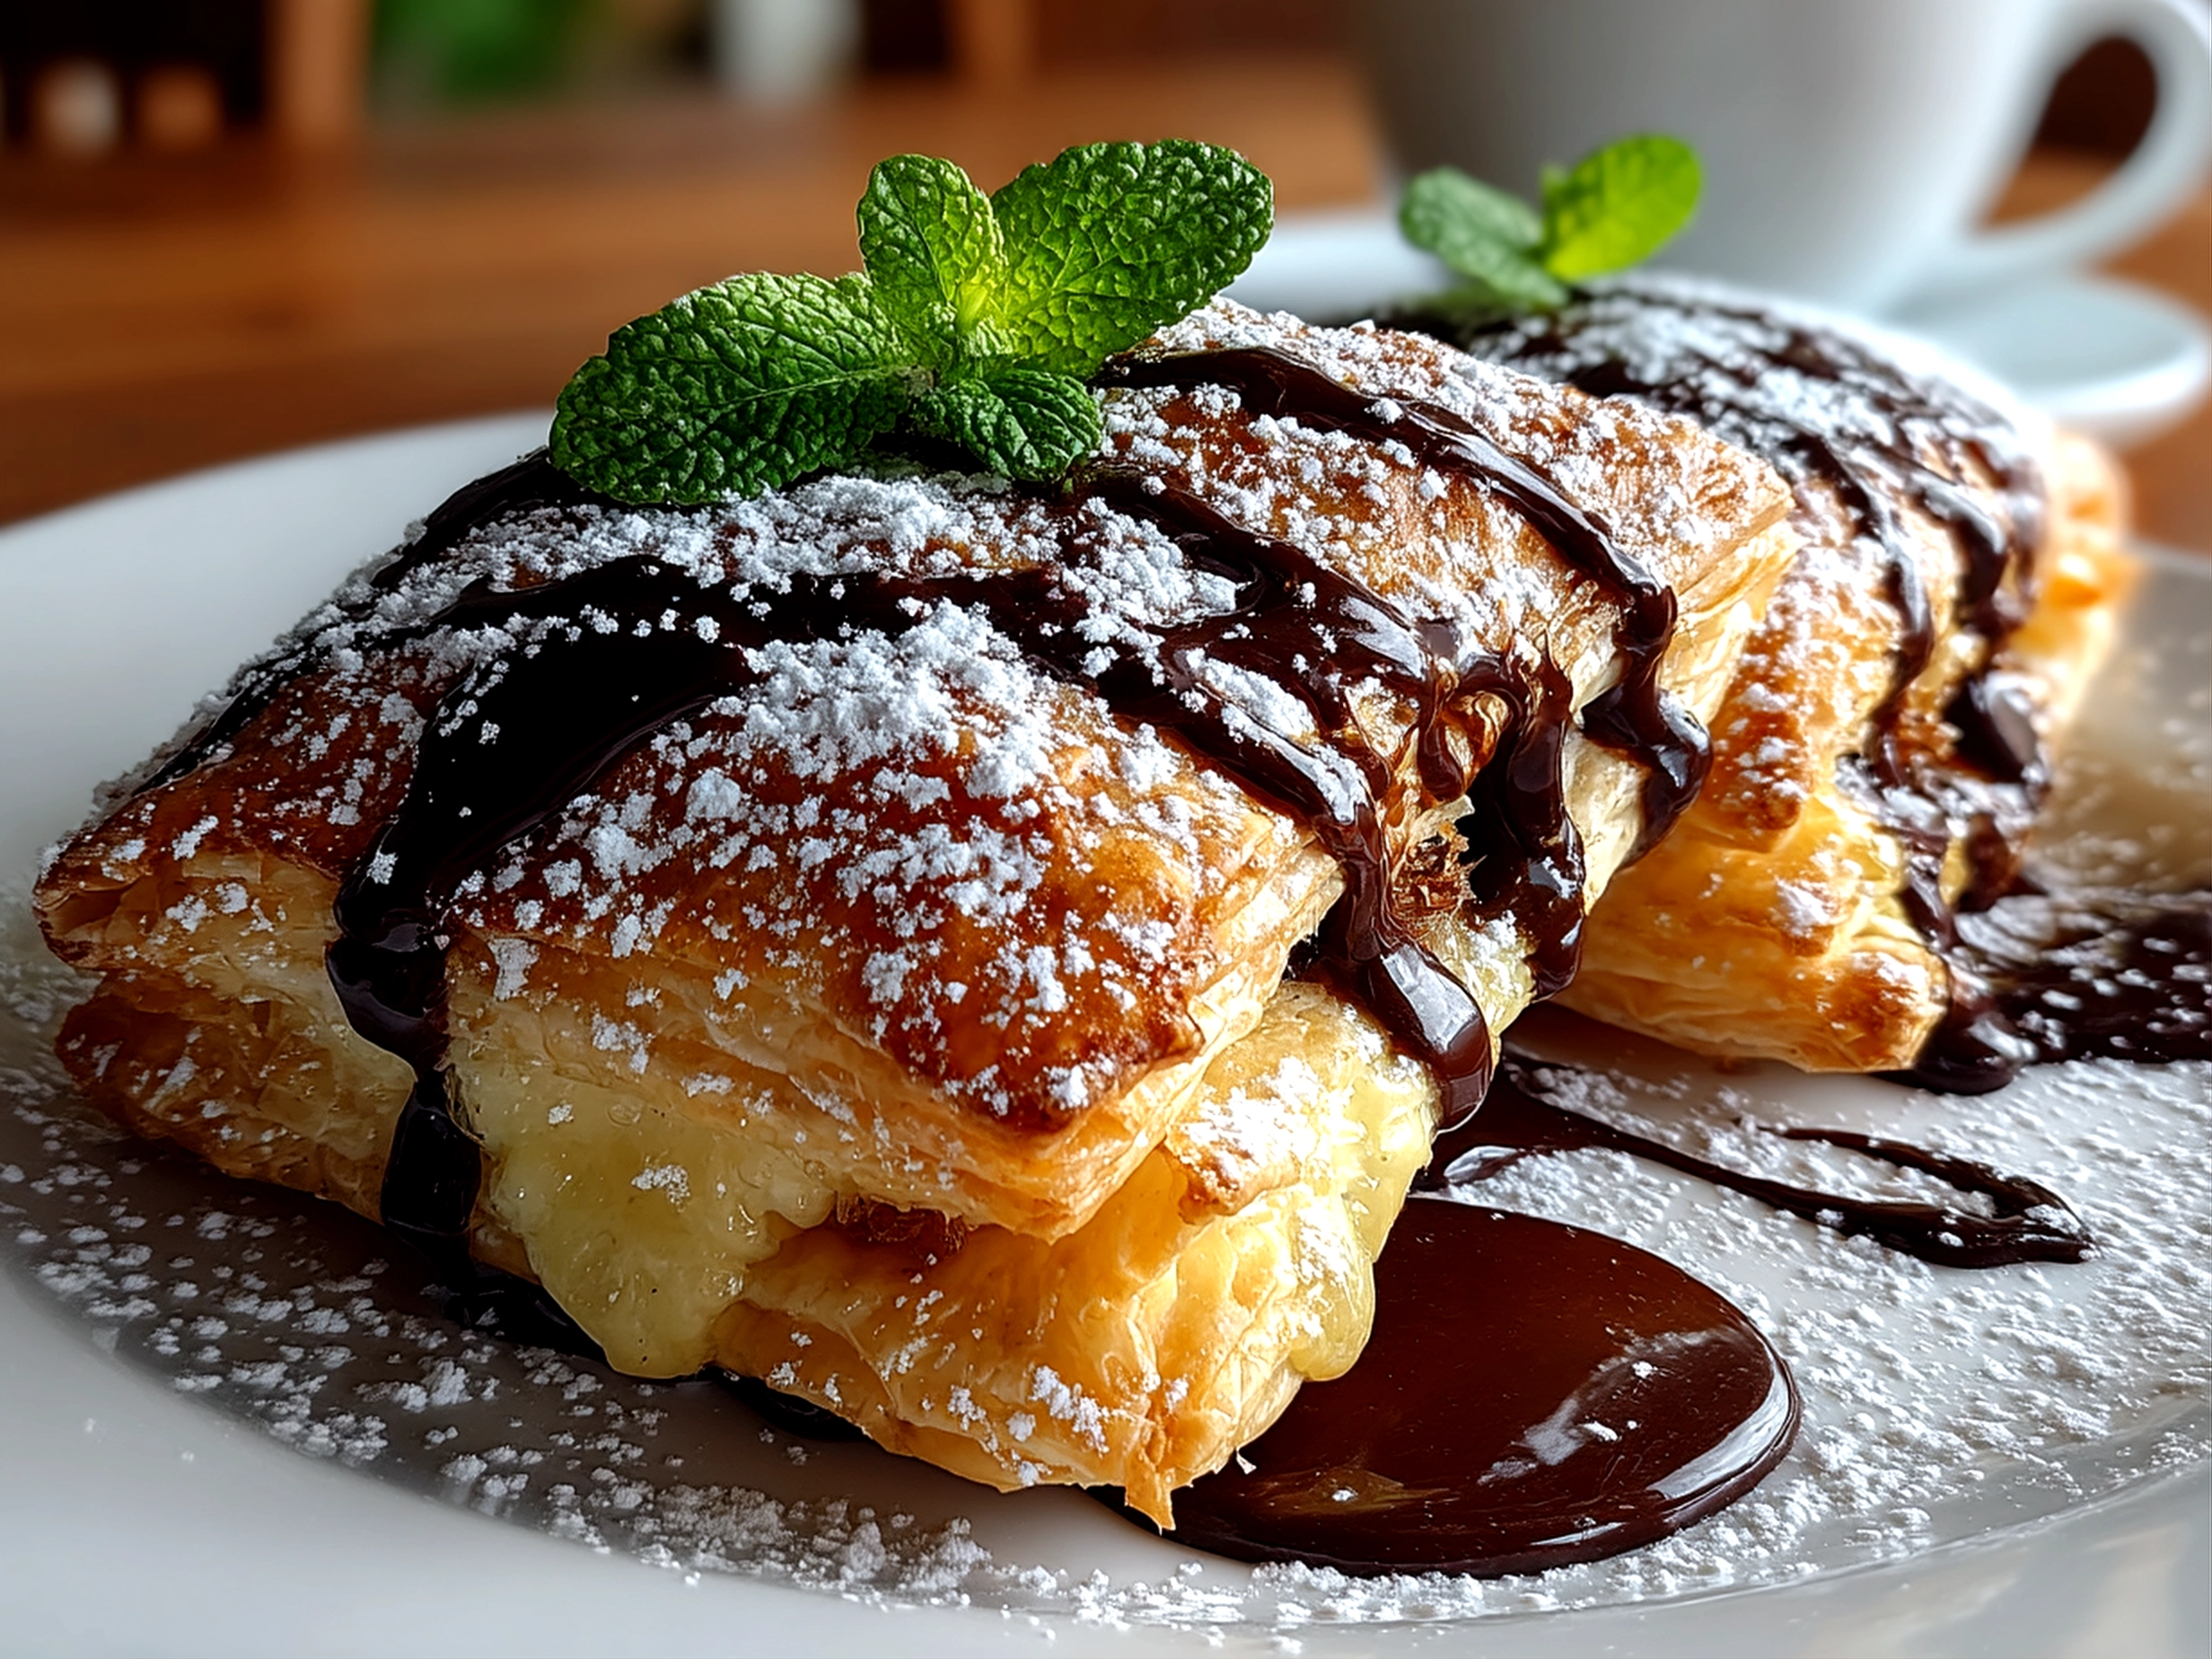
For occasions, it’s perfect at brunch or as a quick after-dinner treat. I recently packed some for a family picnic, and they disappeared fast—folks couldn’t believe they were homemade. If you want to dress it up a bit, a drizzle of caramel sauce or a sprinkle of crushed nuts makes a beautiful, tasty finish.
Leftovers? Honestly, they don’t stick around long in my house! But if you have some, you can refresh your Chocolate Puff Pastry by reheating it briefly in the oven to get back that crispiness. Another idea is slicing it thin and creating a chocolate danish-style snack with fresh fruit toppings the next day.
Seasonally, I’ve added a sprinkle of cinnamon or swapped the chocolate for Nutella for a cozy twist in colder months. If you’re curious about other flaky treats, check out this failproof flakey pastry stuffed with mochi and chocolate for a unique flavor combo.
Common Questions About This Chocolate Puff Pastry:
I’ve answered some of the questions I get most often from friends trying this Chocolate Puff Pastry at home.
Can I make this Chocolate Puff Pastry ahead of time?
Yes! You can assemble the pastries and keep them in the fridge for a few hours before baking. Just brush on the egg wash right before popping them in the oven.
What’s a good substitute for puff pastry?
While puff pastry gives that signature flaky texture, you can try phyllo dough sheets layered with butter, but it won’t puff quite the same. Some have successfully used crescent roll dough for a softer version, like these Chocolate Filled Nutella Crescent Rolls.
Can I use dark chocolate instead of semi-sweet?
Absolutely! Dark chocolate gives a richer, more intense flavor and cuts sweetness nicely.
How do I store leftover Chocolate Puff Pastry?
Keep leftovers in an airtight container at room temperature for up to two days or reheat in a low oven for a few minutes.
How do I prevent the pastry from getting soggy?
Make sure your oven is fully preheated and avoid overfilling with chocolate. Excess moisture can slow puffing.
What’s the difference between this and a chocolate danish?
A chocolate danish usually involves a yeasted dough and a cream cheese or custard addition, while this Chocolate Puff Pastry is lighter, flakier, and uses puff pastry dough.
Can I add other fillings?
Yes! Small amounts of raspberry jam or hazelnut spread work beautifully. Just keep fillings moderate so the puff pastry can bake properly.
If you’re curious, there’s a great quick and easy Chocolate Puff Pastry in 20 minutes over on Marcellina In Cucina that shares another simple method worth trying.
Final Thoughts on This Chocolate Puff Pastry:
This Chocolate Puff Pastry has a special place in my recipe collection because it combines ease, elegance, and pure chocolaty joy. There’s something so satisfying about pulling a perfectly flaky pastry from the oven—and knowing you made it yourself.
My Top Tips for This Chocolate Puff Pastry:
- Always keep your puff pastry cold before baking for the best puff.
- Don’t overfill with chocolate—less really is more here.
- Use egg wash for that gorgeous golden sheen.
If you want to mix things up, try these variations I love: a sprinkle of chopped nuts inside, a swirl of Nutella in place of chocolate, or top with fresh berries after baking. The version that gets requested most often by my family? The classic semi-sweet chocolate-filled puff pastry—simple and perfect every time.
I hope you make this recipe your own and enjoy every bite. Baking is all about joy and sharing, and I know this Chocolate Puff Pastry will bring smiles to your kitchen table. For more inspiration and chocolatey goodness, check out these delicious Chocolate Marshmallow Swirl Cookies—they’re another fun way to treat yourself.
Remember, fellow bakers, you’ve got this. Your perfect Chocolate Puff Pastry is just an oven away. Happy baking!
Chocolate Puff Pastry

Delight in flaky, buttery puff pastry filled with rich, melted chocolate for an irresistible dessert or snack perfect for any occasion.
- Prep Time: 10 minutes
- Cook Time: 18 minutes
- Total Time: 28 minutes
- Yield: 4 servings
- Category: Dessert
- Method: Baked
- Cuisine: American
Ingredients
- 1 sheet frozen puff pastry, thawed
- 100g dark chocolate, chopped
- 1 egg, beaten (for egg wash)
- 1 tablespoon granulated sugar (optional)
- Powdered sugar, for dusting (optional)
Instructions
- Preheat the oven to 400°F (200°C) and line a baking sheet with parchment paper.
- Roll out the puff pastry on a lightly floured surface to smooth any creases.
- Cut the pastry sheet into 4 equal rectangles.
- Place a portion of chopped dark chocolate in the center of each rectangle.
- Fold each rectangle over the chocolate to form a square or rectangle shape, sealing the edges by pressing with a fork.
- Brush the tops with beaten egg and sprinkle with granulated sugar if desired.
- Place the pastries on the prepared baking sheet and bake for 15-18 minutes or until golden brown and puffed.
- Remove from oven and allow to cool slightly before dusting with powdered sugar and serving.
Notes
For an extra indulgent touch, serve warm with a scoop of vanilla ice cream or a drizzle of caramel sauce.